
If you're planning to head out this weekend in search of Valentines for your kids' parties next week, take a look at this sweet DIY idea for Valentines first. They're super cute and easy-peasy, so you and your child can work on them together. You may even have some of the materials needed to make them on hand! Enjoy!
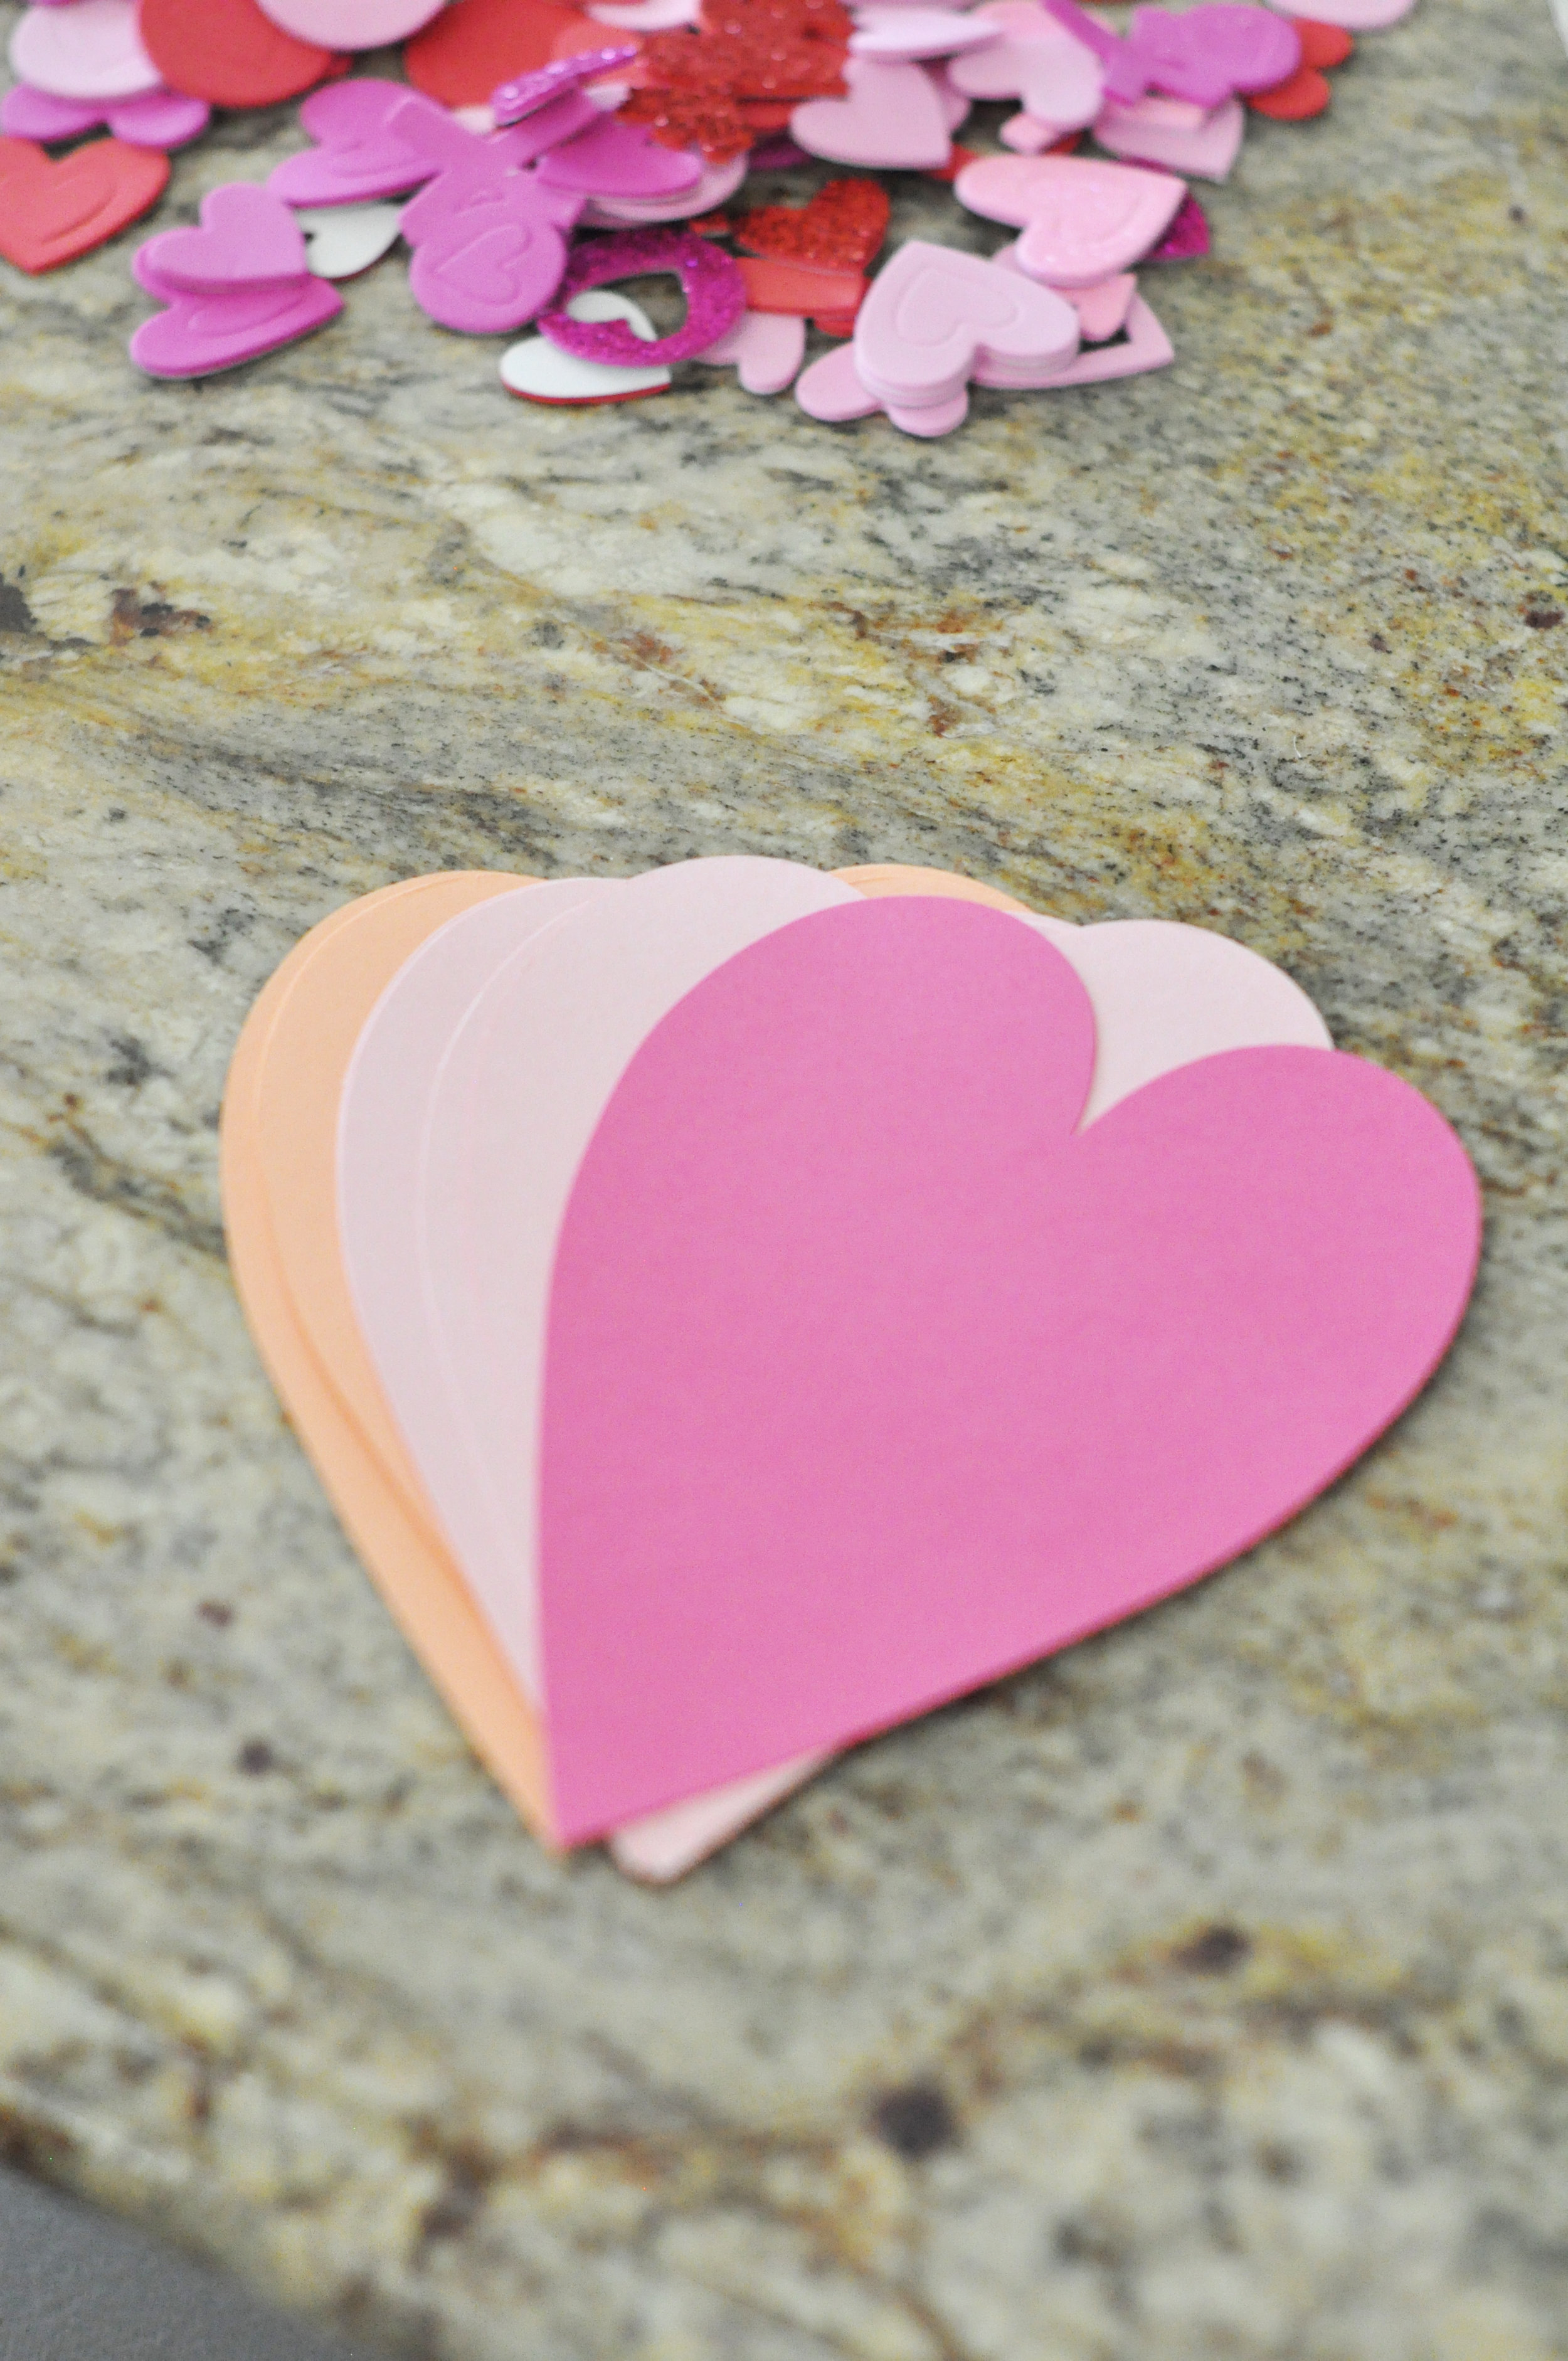
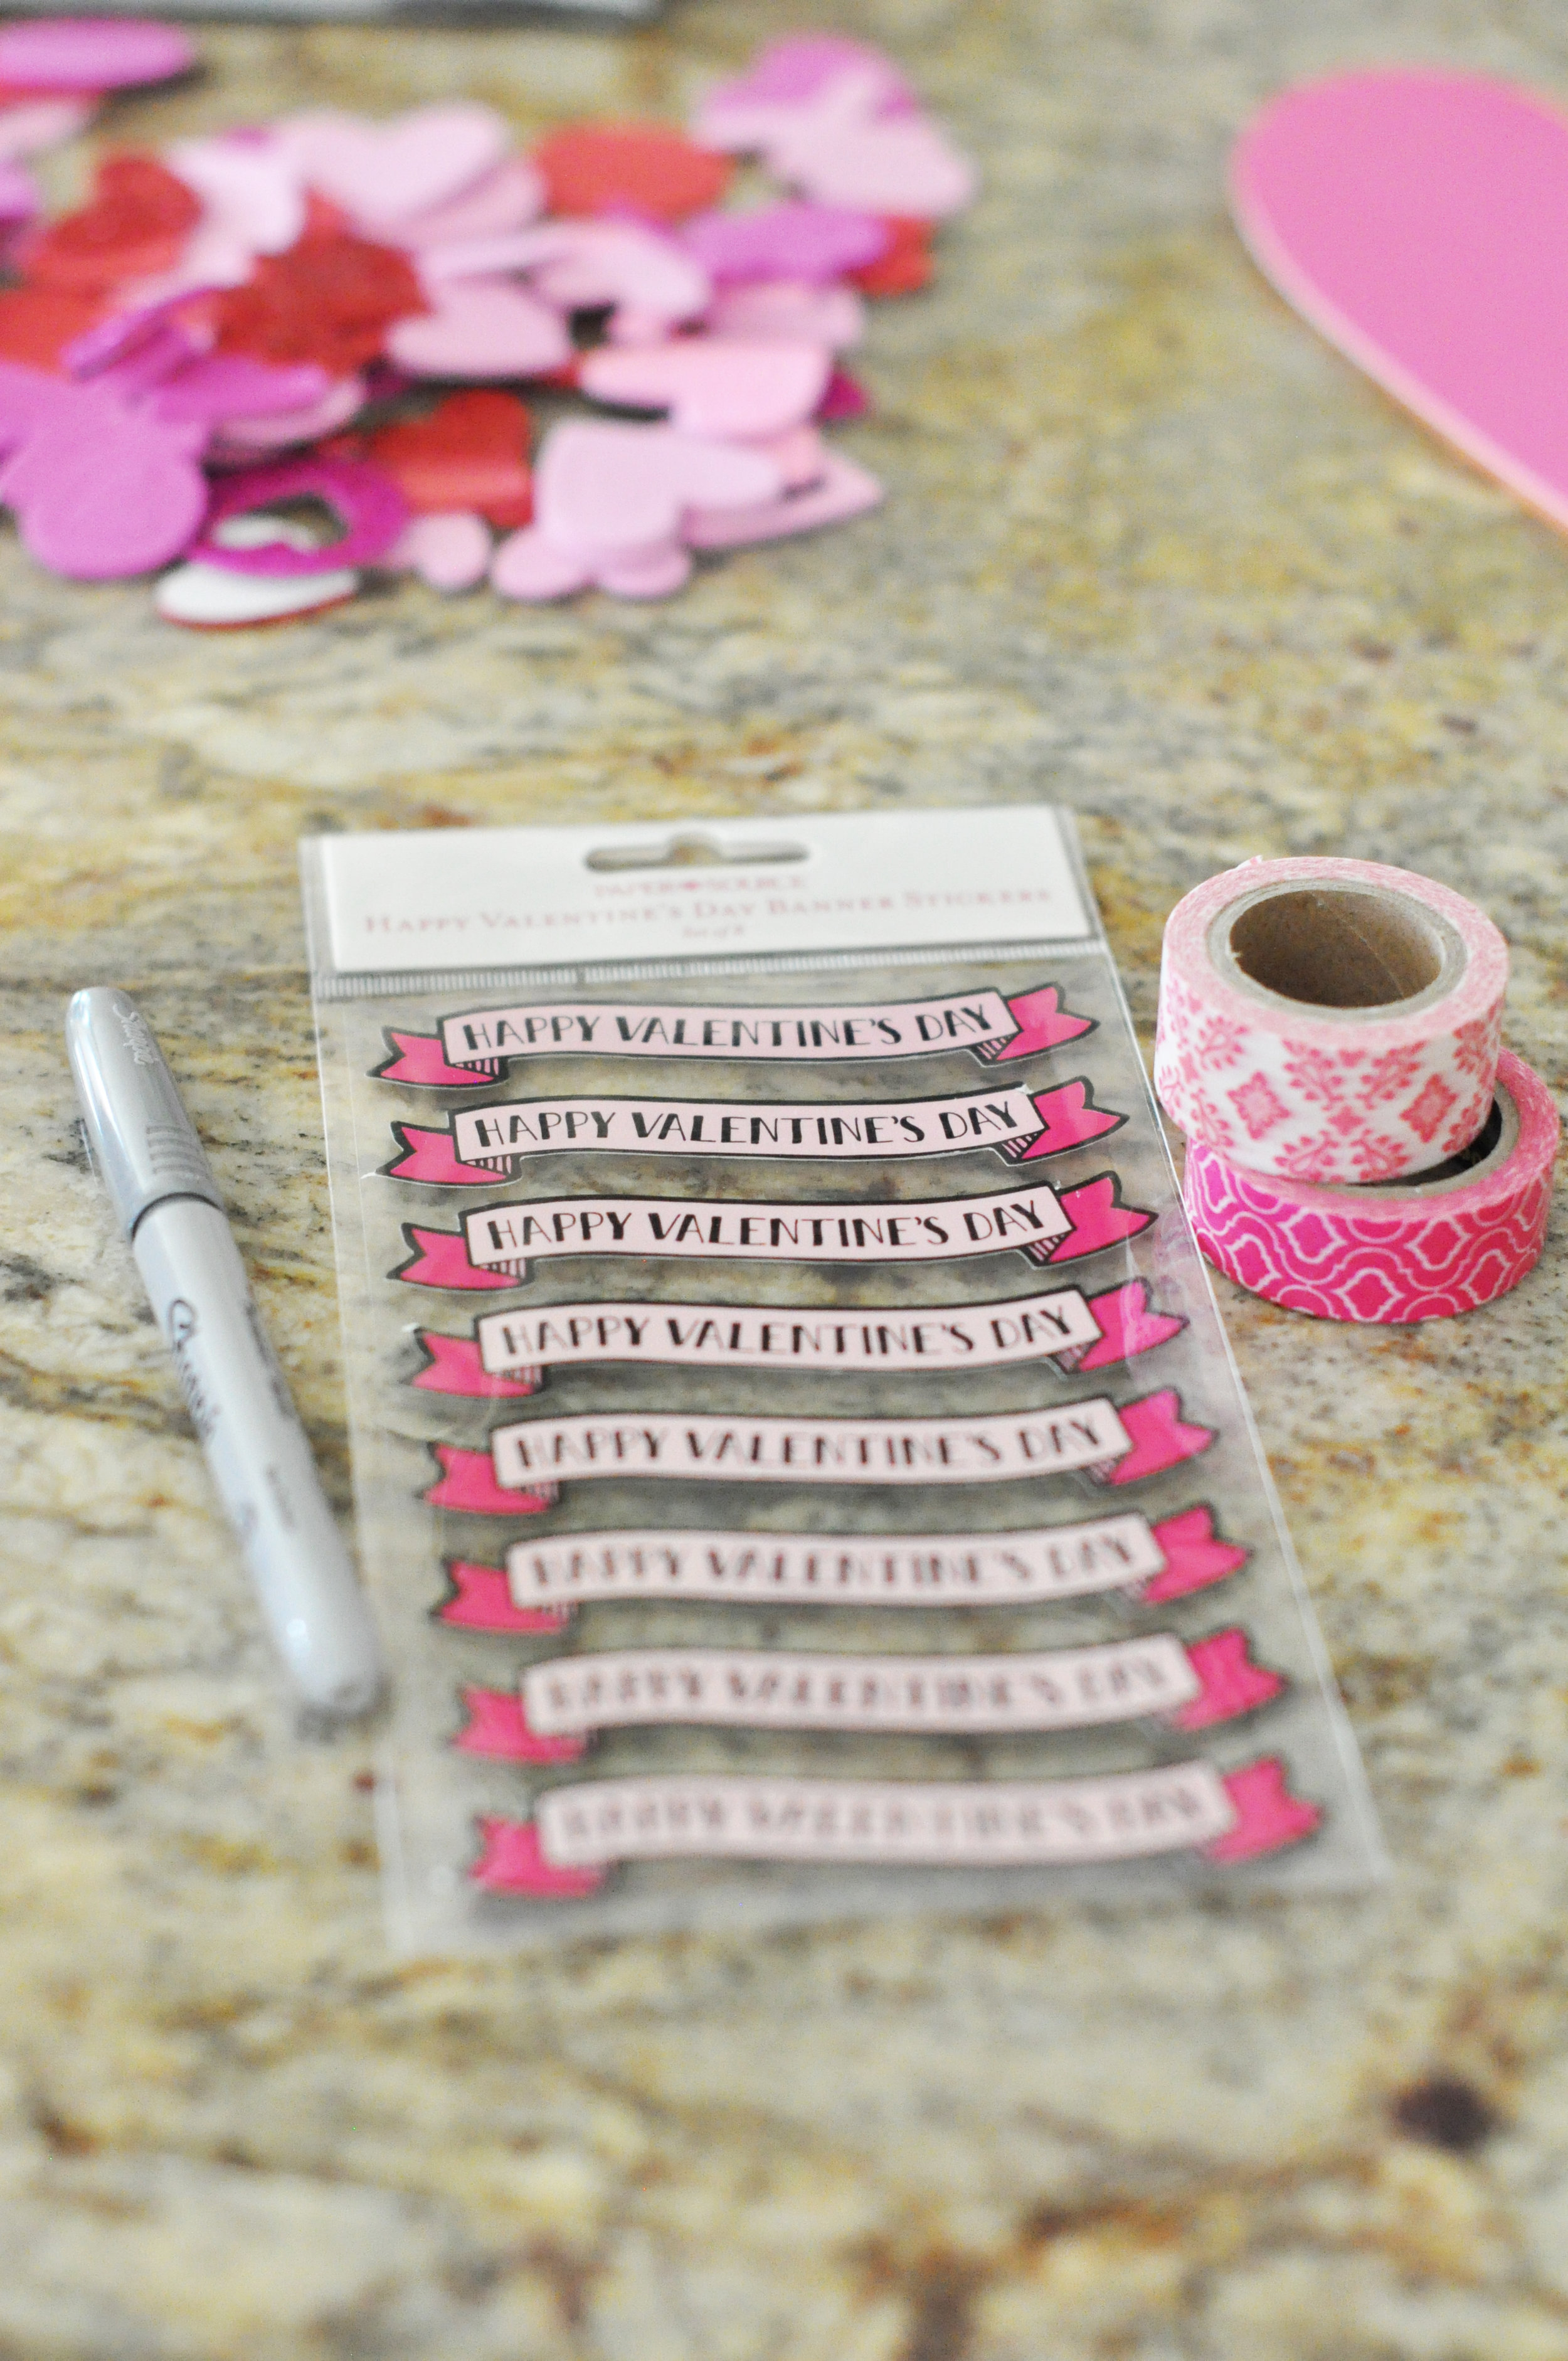
In order to make these, you essentially need five things, heavy paper hearts, washi tape, stickers, bubbles, and a pen or marker. I will show you the materials I used and where to get them. First off, the paper hearts...I bought these in a pack of 21 from Paper Source. You can find them here. I purchased the "Happy Valentine's Day" stickers from Paper Source as well, and you can find those here. If you don't have a Paper Source near you, you could likely pick up similar items from your local craft store. I purchased the washi tape at Michael's, but you can find it nearly anywhere these days.
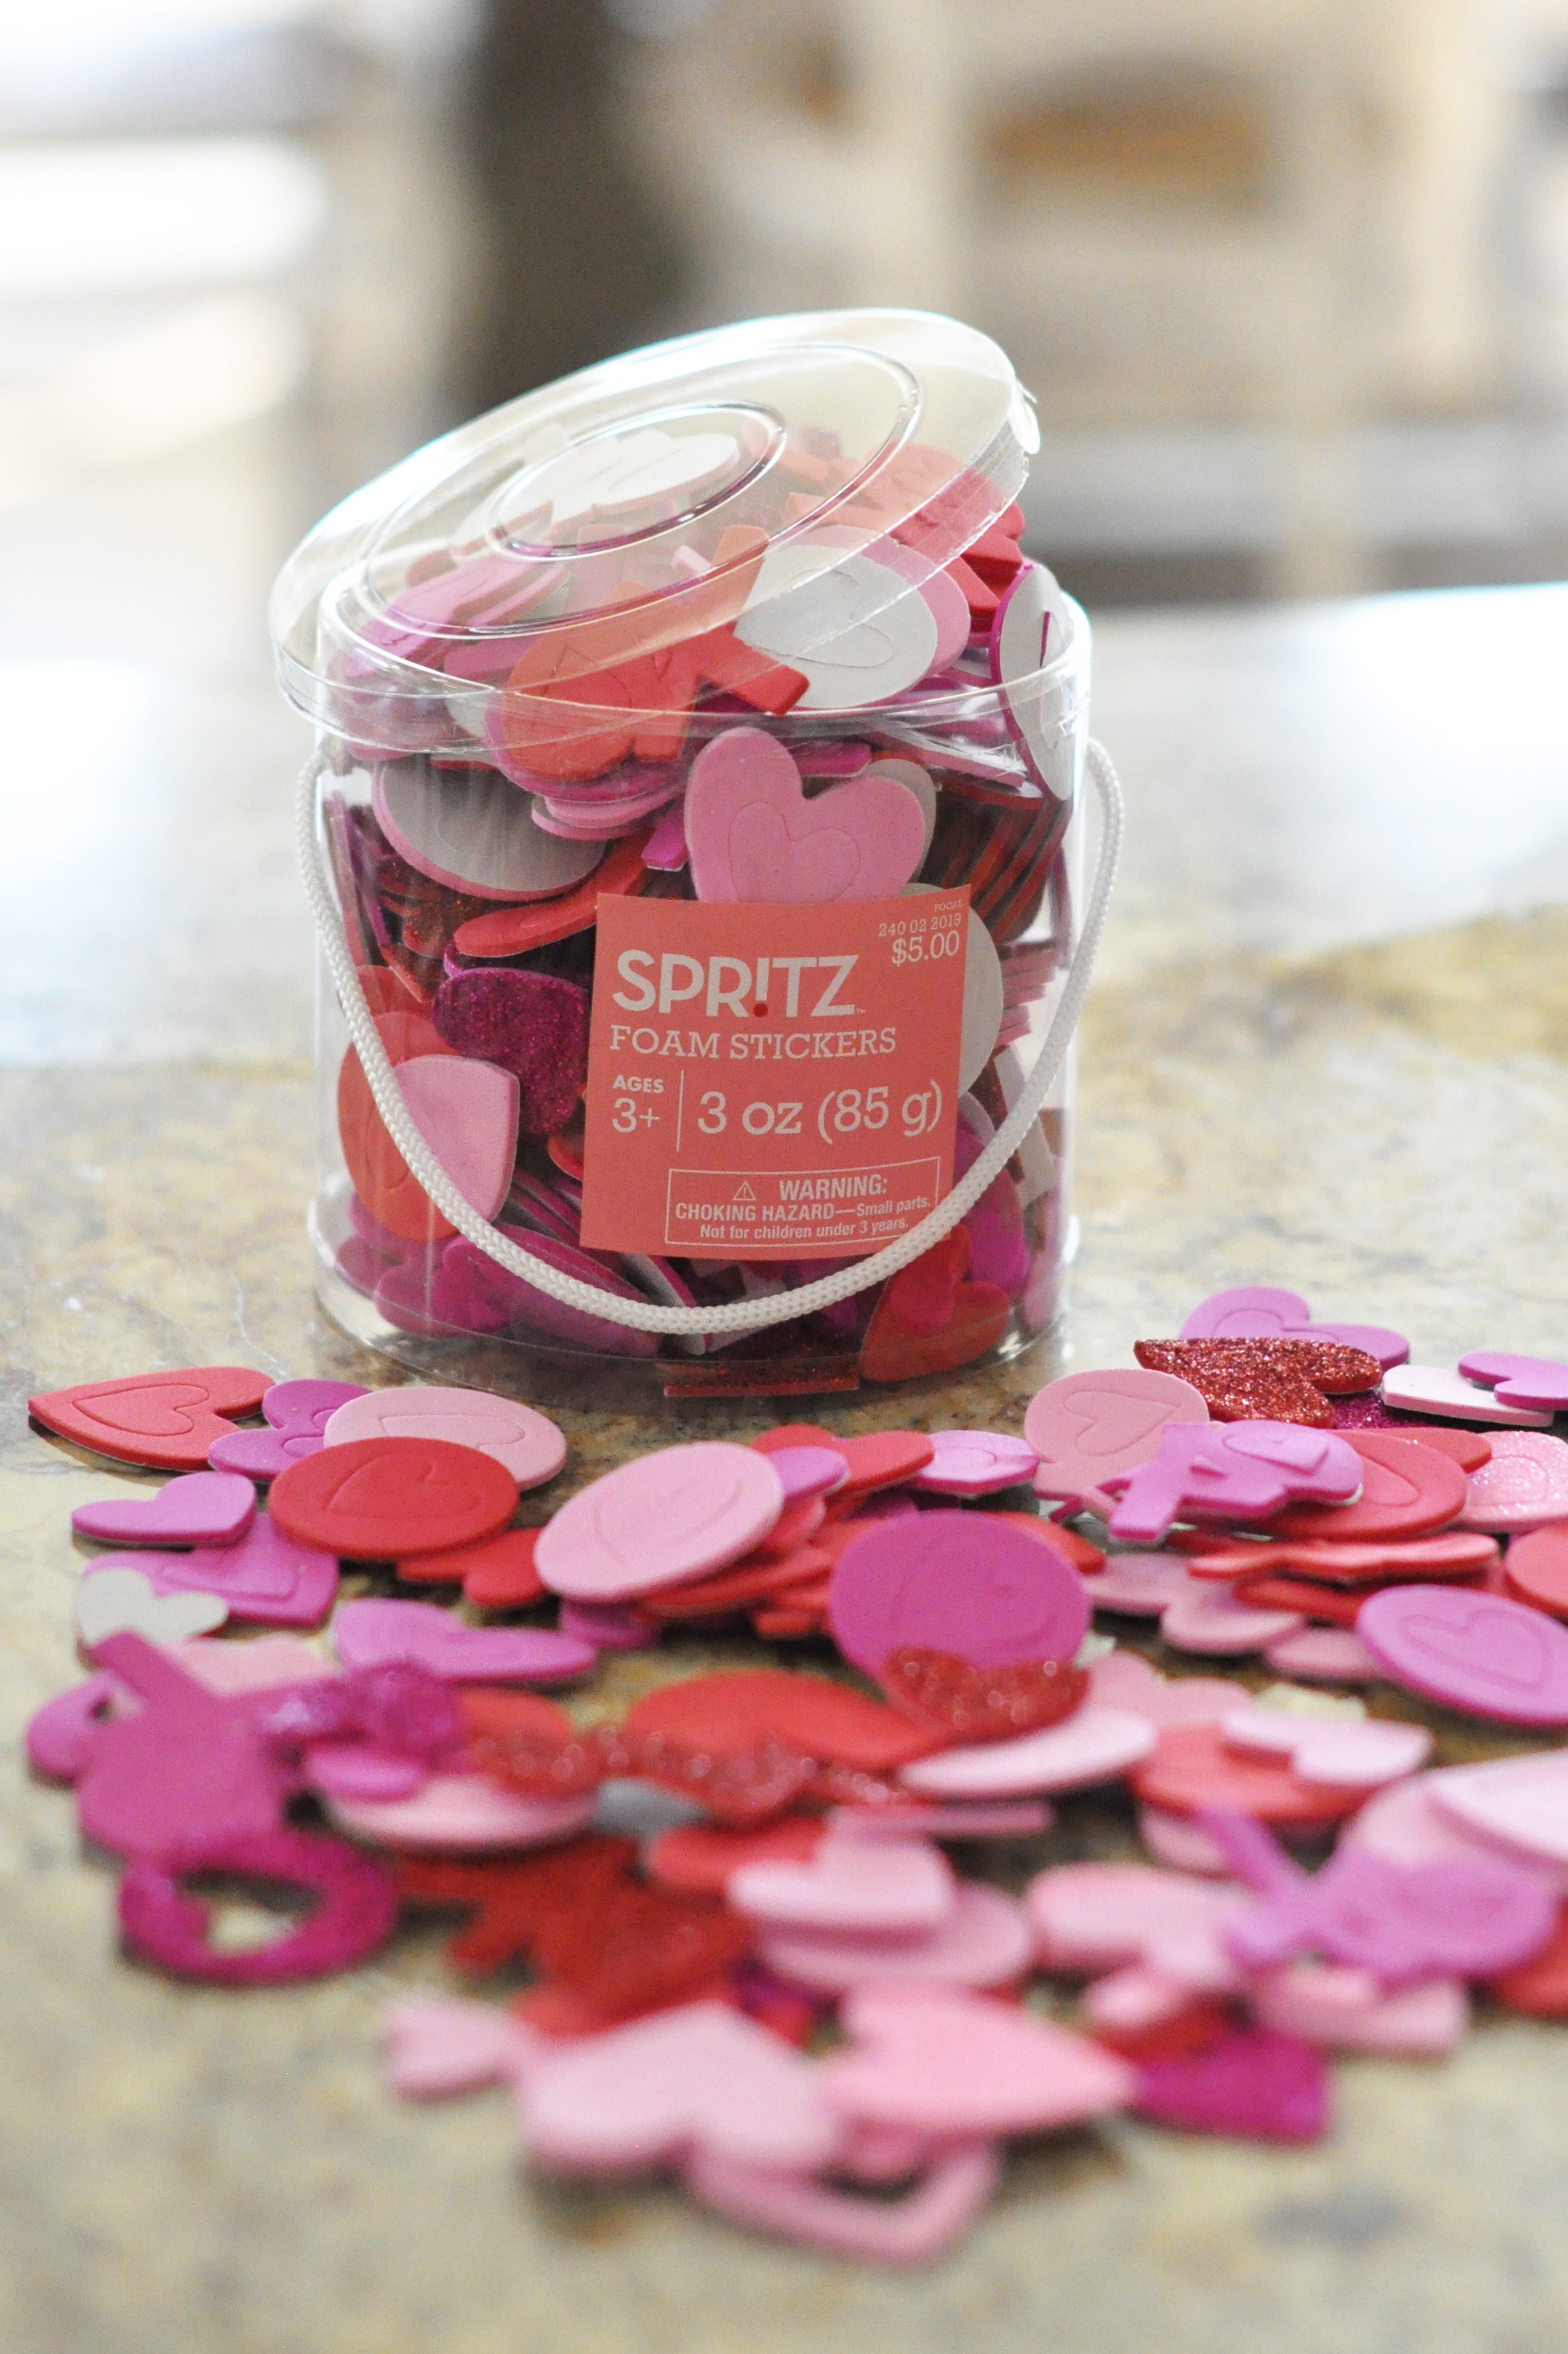
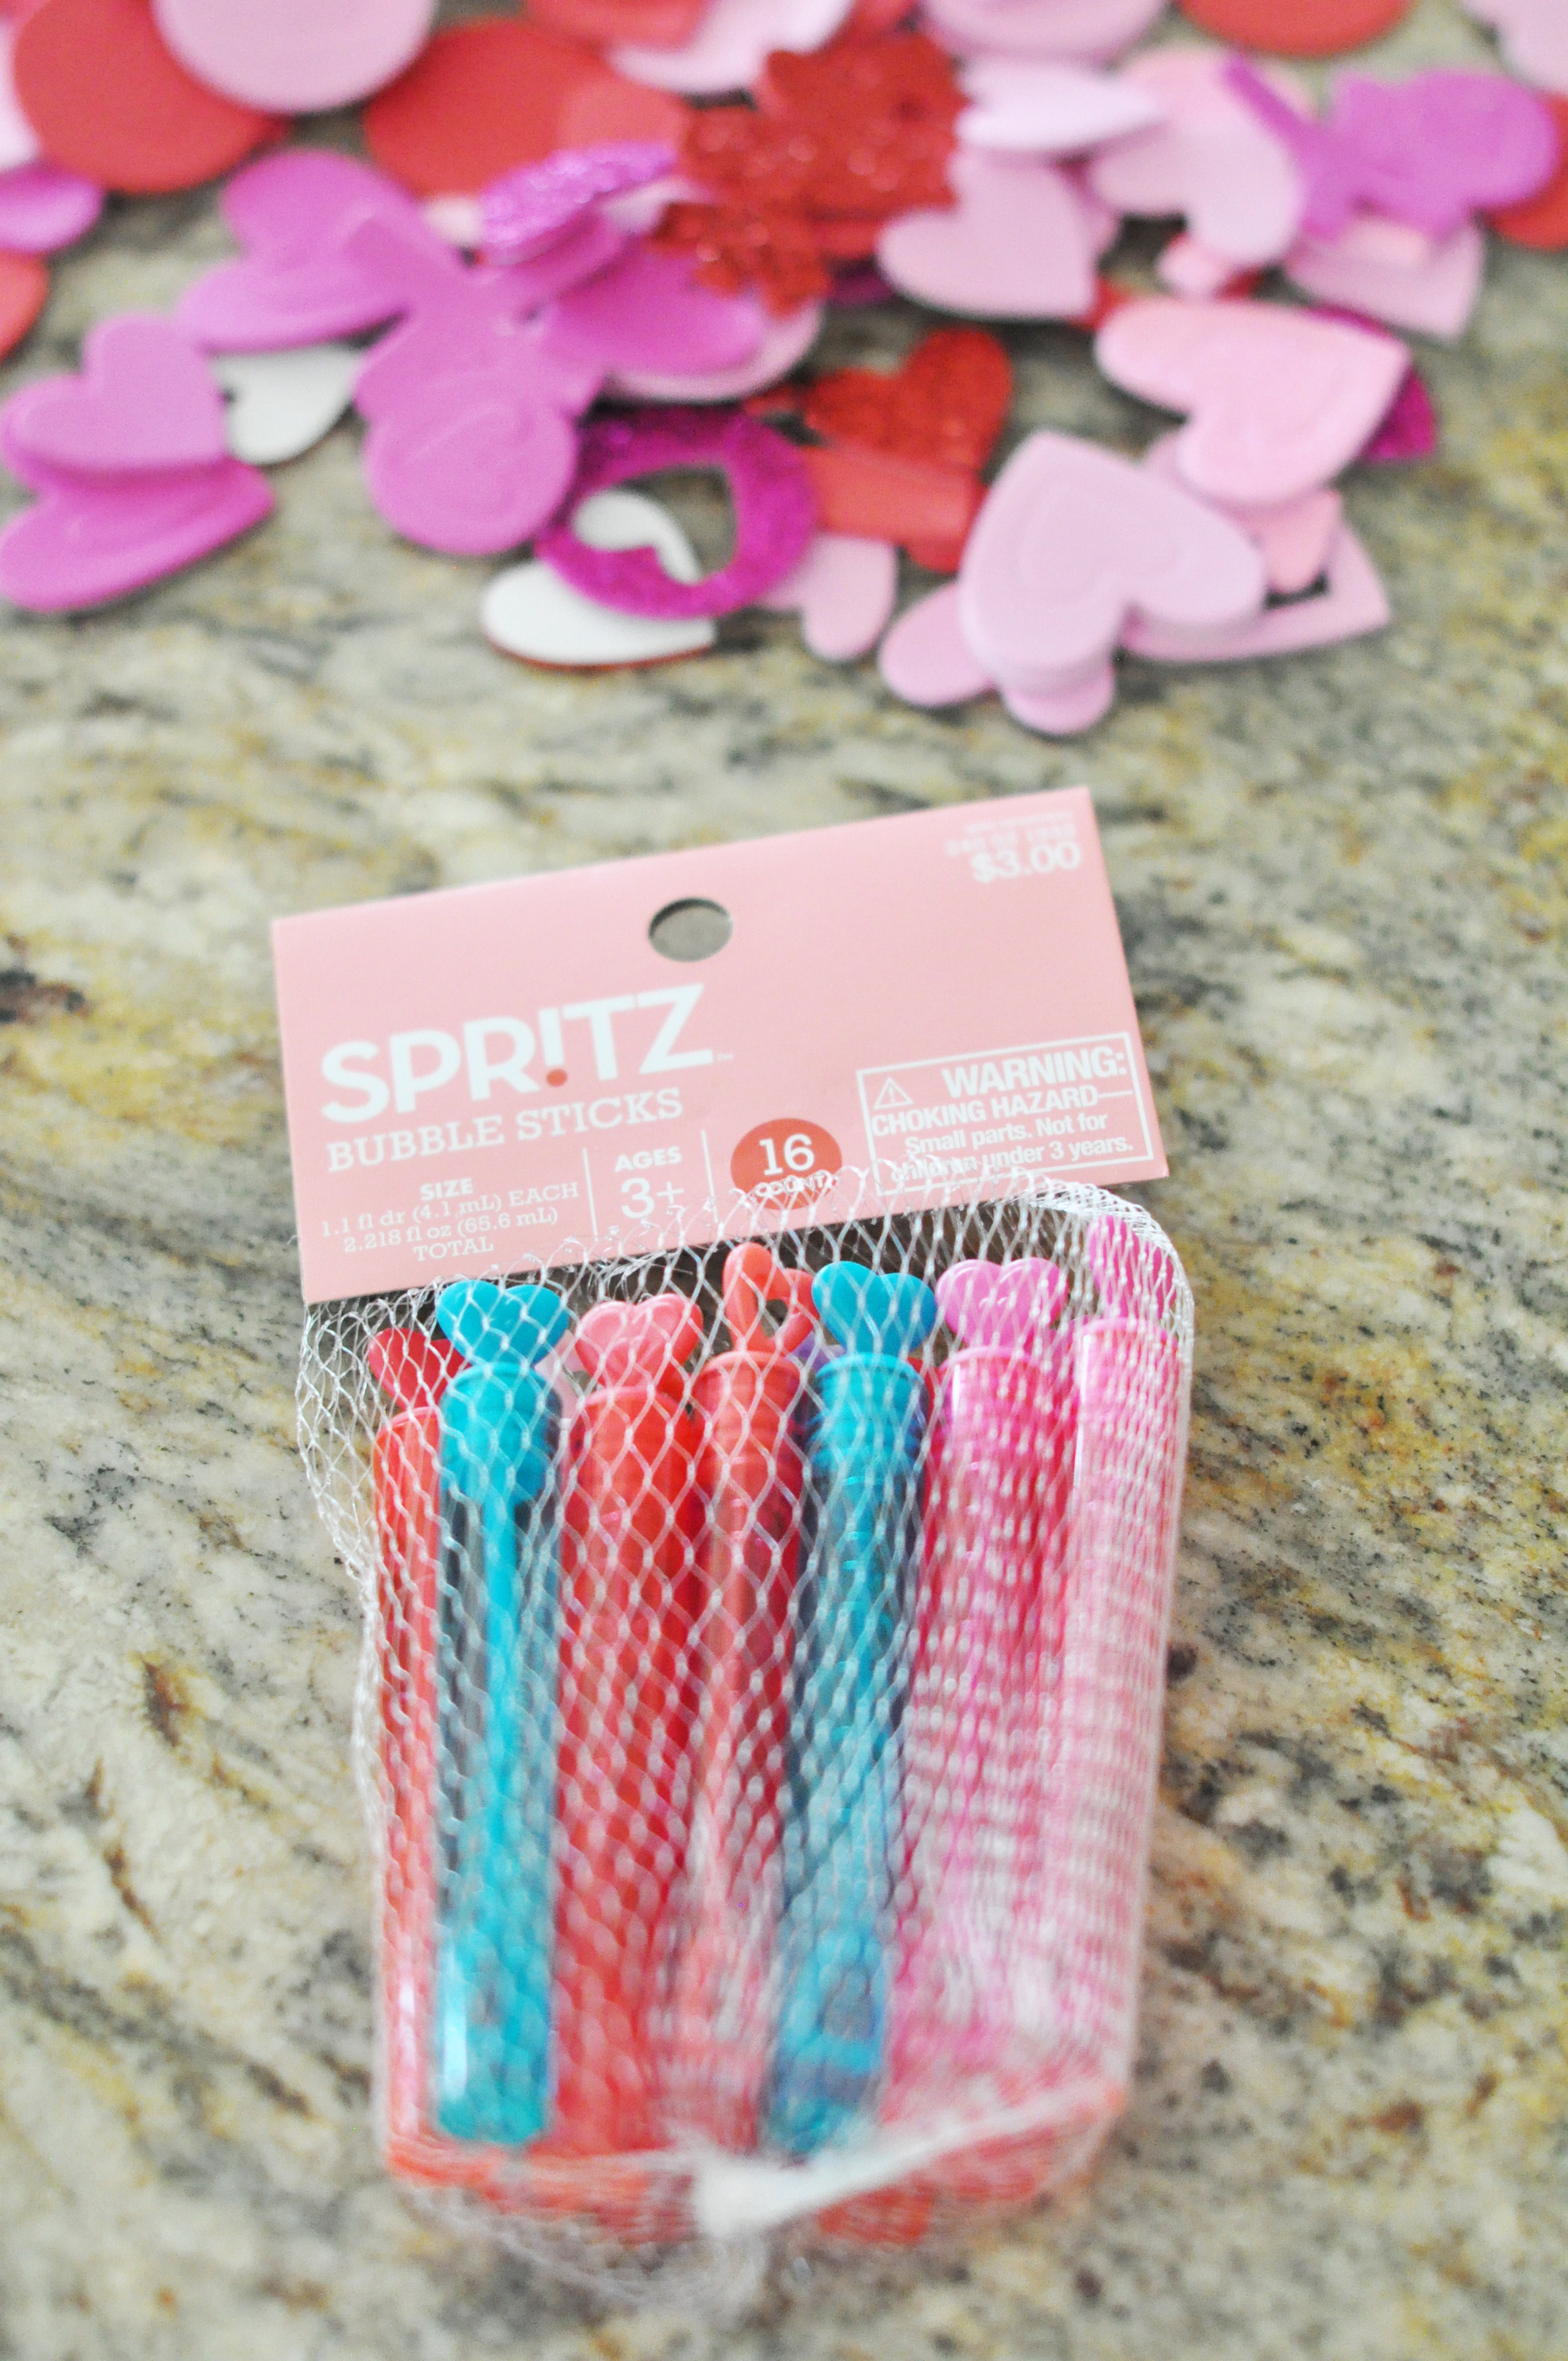
The heart stickers and bubbles came from the Valentine's section at Target. This huge container of stickers was only $5, and the bubbles were $3 for 16. Score!
That's it for materials! You don't even need scissors or glue, that is unless you plan to cut out your paper hearts, which is totally fine. Now that we've covered materials, lets go over a few quick steps. The first thing you want to do is write your "Tos and Froms" on the back of the heart. It's kind of tricky to do it once you get the bubbles taped down so definitely do that first. I wrote the "Tos," (in this case it was requested that we simply write "To: My Friend") and I will let my daughter come back later and write the "Froms." She's four and is still practicing writing her name :).

Next flip the Valentine over and add your text sticker (in this case the "Happy Valentine's Day" sticker) towards the top of the heart.

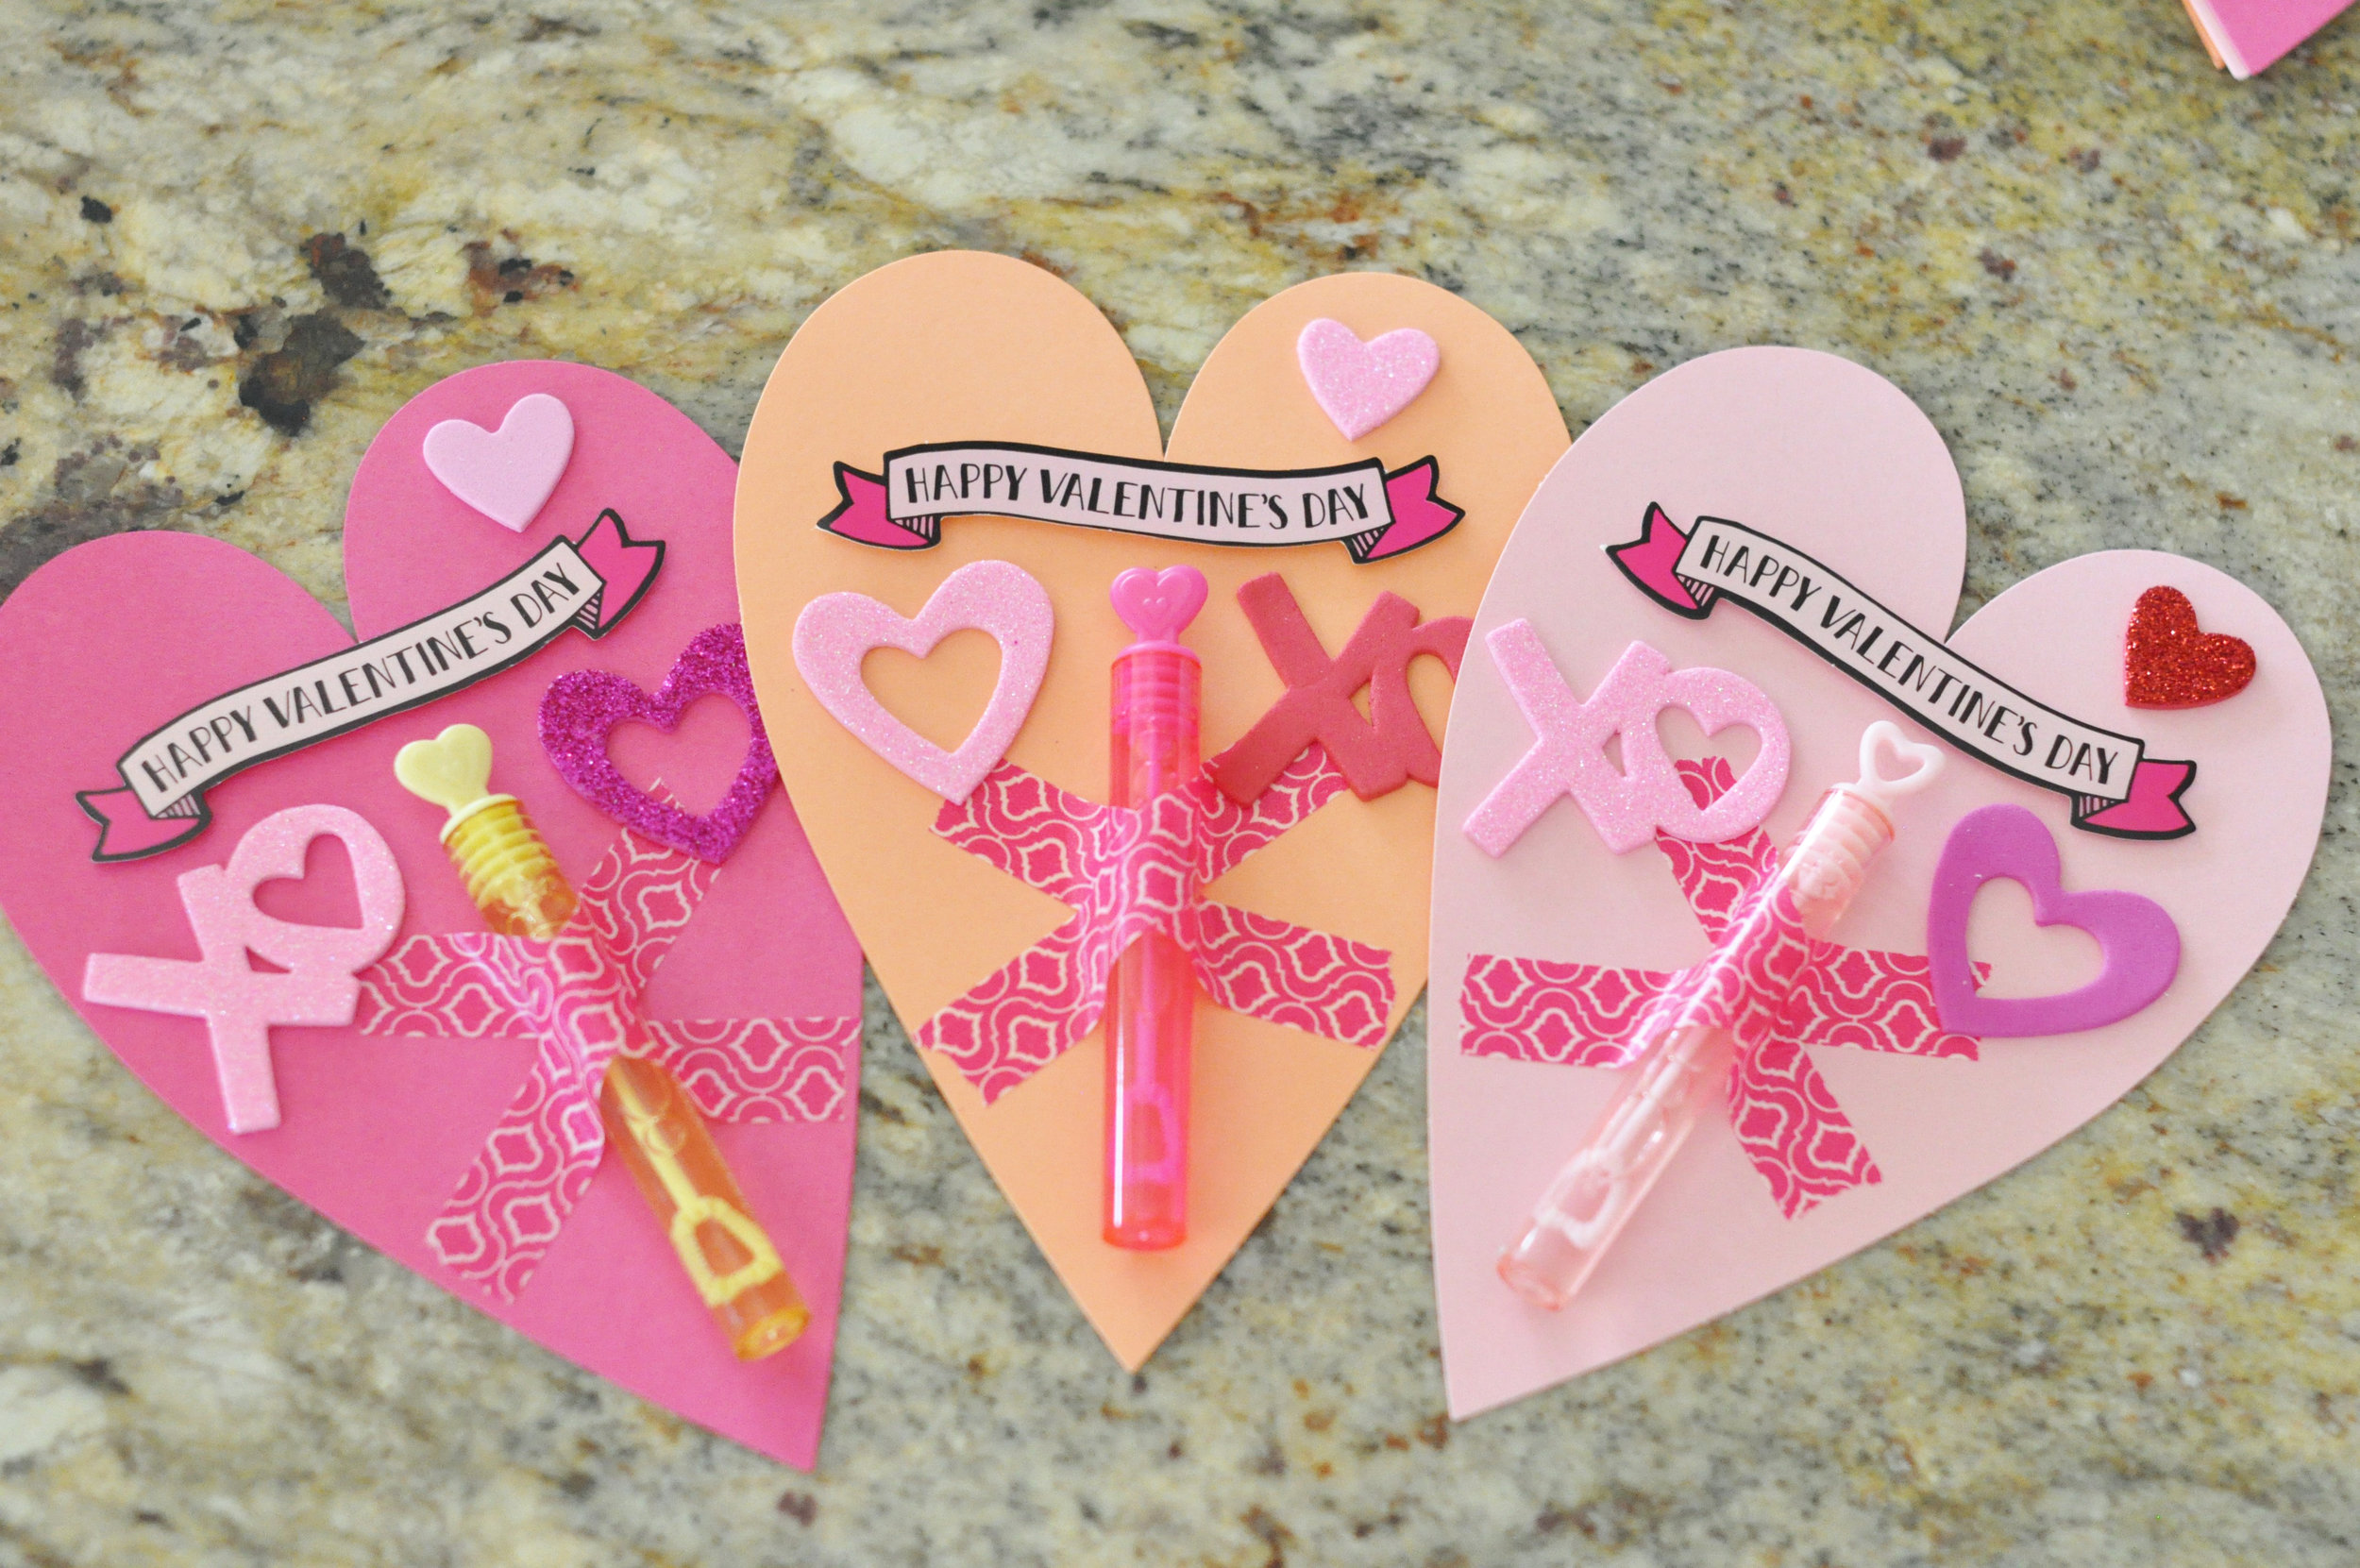
After that, place your bubbles and secure them with two strips of the washi tape laid in and "X" over the bubbles so they're nice and secure. You can cut the tape if you want nice, clean edges, but I was fine just tearing it. As a side note, you obviously don't have to use bubbles here, it can be anyting you want, lollipops, chocolates, pencils and erasers, lip gloss, etc.

Next, add your heart stickers anywhere you want around the bubbles to pretty up the front of the Valentine. I let my daughter help with this part. She loves stickers!

That's it! You're done! See how easy that was! Here are a few photos of our finished products.


I hope you enjoyed this little tutorial and that it inspired you to make some creative Valentines of your own. Happy V Day, friends!
XOXO
Jennifer
